Click or drag
Turn Words into Art: Image to Image AI
Transform your photos into stunning, unique pieces of art. Now supporting multiple input images, precise text rendering, and smart credit pricing.
How It Works
Upload Reference Image(s)
Upload one or more reference images to guide the AI's composition and style. Please note: Width or height cannot exceed 2048 pixels. Each image adds 15 credits to your base cost.
Configure Settings & Prompt
1. Prompt (Required): Describe your vision clearly.
2. Aspect Ratio (Required): Choose a ratio or stick with 'match input image'.
3. Quality: Select Medium (default), High, or Ultra.
4. Format: Choose between JPG (default), PNG, or WEBP.
Generate and Review
Check the 'Generate (Costs X credits)' button to see your total cost. Click generate to create your artwork!
Core Capabilities
Flawless Text Rendering
Unlike older AI models, our engine can render legible text, complex typography, and user interface mockups directly inside your generated images.
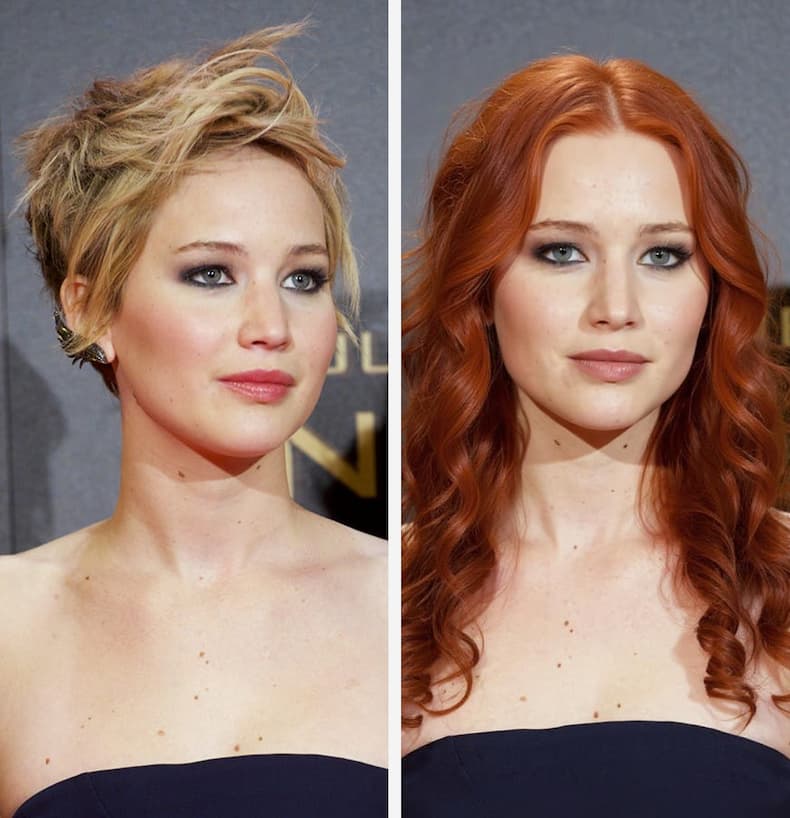
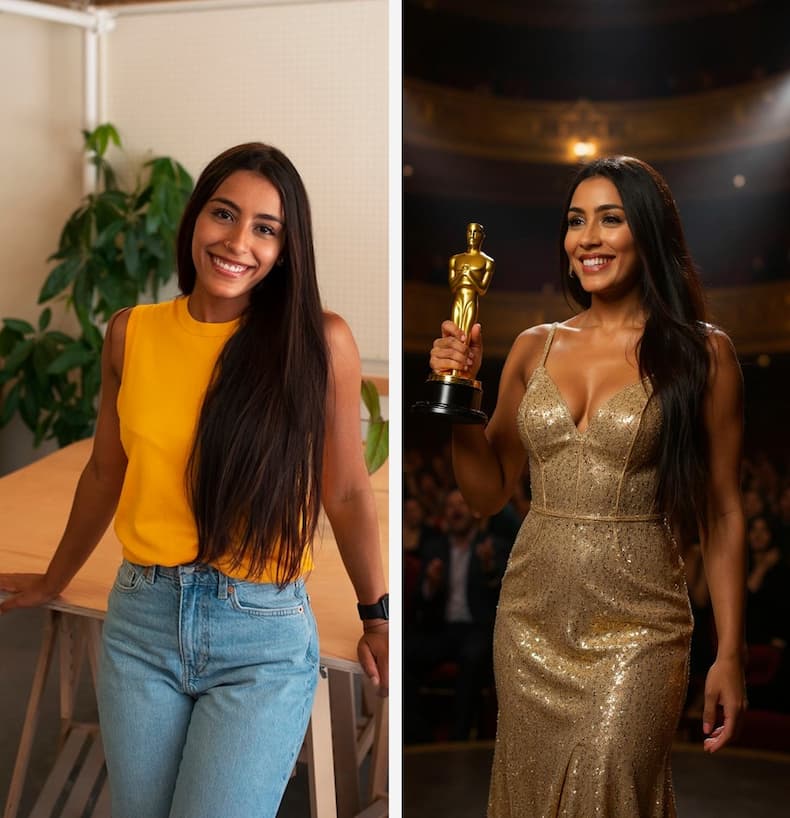
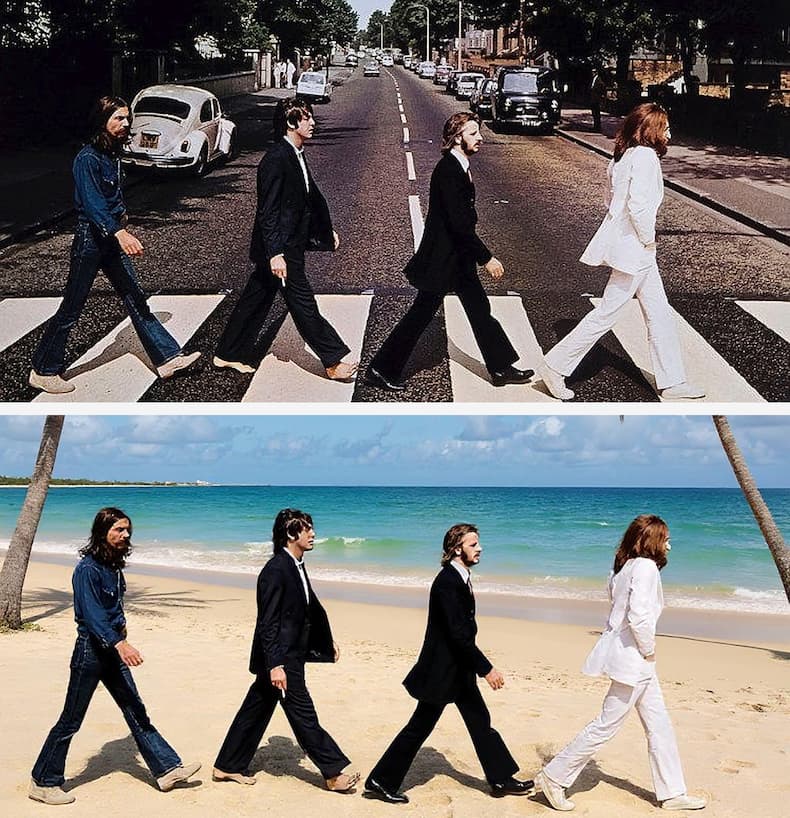
Multi-Image Consistency
Upload multiple reference images at once to maintain consistent characters, products, or styles across different generations and angles.
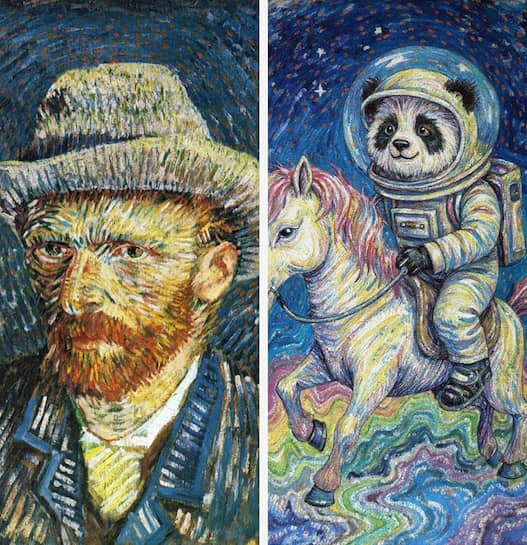
Photorealistic & Stylized
Achieve sharp textures and natural lighting for product photography, or use style transfer to turn a photo into a watercolor or cyberpunk illustration.
Smart Quality & Pricing
Control your spend. Choose Medium (~1MP), High (~2-3MP), or Ultra (~3-4MP). Your exact credit cost is calculated instantly before you generate.
Pro Tips for Better Results
Avoid Negative Prompts
The AI doesn't understand negative commands well. Instead of writing 'no cluttered background' or 'no extra fingers', describe exactly what you want: 'clean background with natural hands at rest'.
Use Hex Codes for Exact Colors
Need brand consistency? You can use exact hex codes (e.g., #FF5733) or specific color names in your prompts to match lighting and elements perfectly.
Try Structured Prompting
For precise control, organize your prompt like JSON. Define fields in your text like scene:, subjects:, lighting:, and camera: (angle, focal length) to guide the AI.
Master the Cost Formula
Your cost is: 15 (base) + (Inputs × 15) + Quality Cost. Start with 1 image and 'Medium' quality (40 credits total) to test your prompt cheaply before scaling up!
Watch Your Image Limits
Make sure your input images are sized properly before uploading. If any dimension is too large, you will get a 'Width or height cannot exceed 2048 pixels' error.
Frequently Asked Questions
How exactly are credits calculated?
The formula is: 15 base credits + (15 × number of input images) + quality cost. Quality costs are: Medium (10), High (15), and Ultra (25). For example, 2 images at High quality costs: 15 + 30 + 15 = 60 credits.
What are the image size limits?
The maximum dimension for any uploaded image is 2048 pixels (width or height). Images exceeding this limit will trigger an error. We also recommend keeping resolution realistic based on your aspect ratio.
Can I set a custom width and height in pixels?
To keep things simple, we do not support manual pixel inputs. Instead, you must select an Aspect Ratio (e.g., 16:9, 4:3), or leave it as the default 'match input image'.
What output formats are supported?
You can generate images in JPG, PNG, or WEBP. The default format is JPG. Output generation quality is automatically optimized behind the scenes for the best balance of visual fidelity and file size.